The Ultimate Guide to Slip Stitch: Mastering the Basics for Every Crochet Project
Table of Contents
- What is Slip Stitch Crochet?: A brief overview of slip stitch crochet and its significance in various projects.
- Basic Techniques: Step-by-step instructions for performing slip stitch crochet.
- Benefits of Slip Stitch Crochet: Why you should incorporate slip stitches in your crochet projects.
- Common Mistakes: Common errors beginners make and how to avoid them.
- Patterns and Projects: Creative project ideas using slip stitch crochet.
- Tips for Mastery: Techniques to refine your skills and improve your crochet.
- Frequently Asked Questions (FAQs): Answers to common queries about slip stitch crochet.
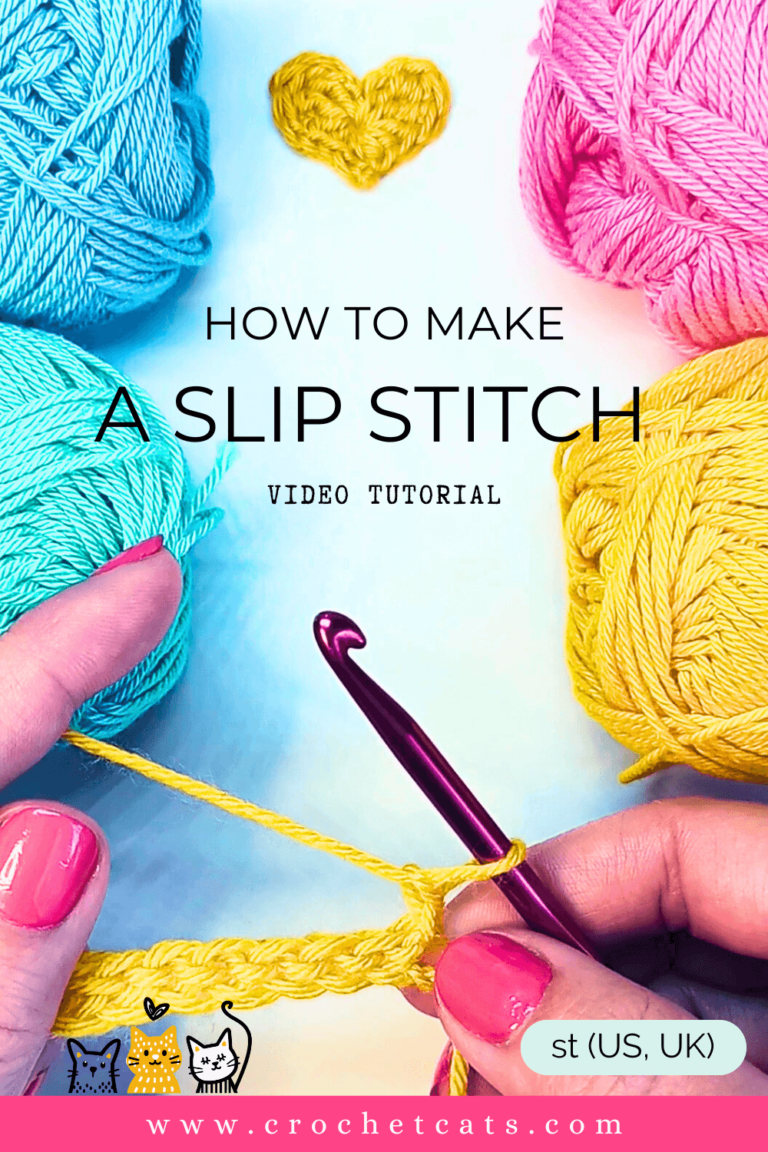
What is Slip Stitch Crochet?
Slip stitch crochet is one of the fundamental techniques in crochet, characterized by its simplicity and versatility. This technique involves pulling the working yarn through the loop on the hook without adding any height to the stitches, resulting in a flat, smooth finish. Slip stitch crochet is frequently used for joining pieces, creating decorative edges, and adding texture to various projects. Mastering this technique is essential for anyone interested in exploring the wide world of crochet.
Benefits of Using Slip Stitch Crochet
- Versatility: Slip stitches can be used in a variety of projects, from garments to home décor items like blankets and dishcloths.
- Texture and Structure: The technique creates unique textures, adding depth and visual interest to your crochet pieces.
- Ease of Use: Slip stitches are simple and beginner-friendly, making them an excellent starting point for novice crocheters.
When to Use Slip Stitch Crochet
Knowing when to use slip stitches can elevate your crochet projects. Here are a few scenarios where slip stitch crochet is particularly useful:
- Joining Rounds: When working in the round, slip stitches help to join the last stitch of a round to the first, ensuring a seamless finish.
- Creating Edges: Use slip stitches to create clean edges on blankets, scarves, or any project that requires a polished look.
- Changing Colors: Slip stitches are ideal for color changes, providing a neat transition without bulky seams.
How to Make a Slip Stitch in Crochet:
Step-by-Step Guide
Creating a slip stitch is an essential skill in crochet, and it’s easy to learn! Follow these detailed steps:
1. Foundation Chain
Start by creating a foundation chain of your desired length. For beginners, a chain of about 10 stitches is recommended.
2. Insert Hook
Insert your crochet hook into the stitch where you want to create the slip stitch.
3. Yarn Over
Yarn over (wrap the yarn around the hook) and pull up a loop (you should have two loops on your hook).
4. Yarn Over Again
Yarn over again and pull through both loops on your hook. This completes one slip stitch.
5. Repeat
Continue this process for the desired length of your project. You can count your stitches as you go to ensure accuracy.
Example of a Slip Stitch
To illustrate, here’s how to create a slip stitch in a round:
- Work your first round of stitches (e.g., double crochet).
- Insert your hook into the first stitch of the round.
- Yarn over and pull up a loop (two loops on the hook).
- Yarn over and pull through both loops.
Materials You’ll Need
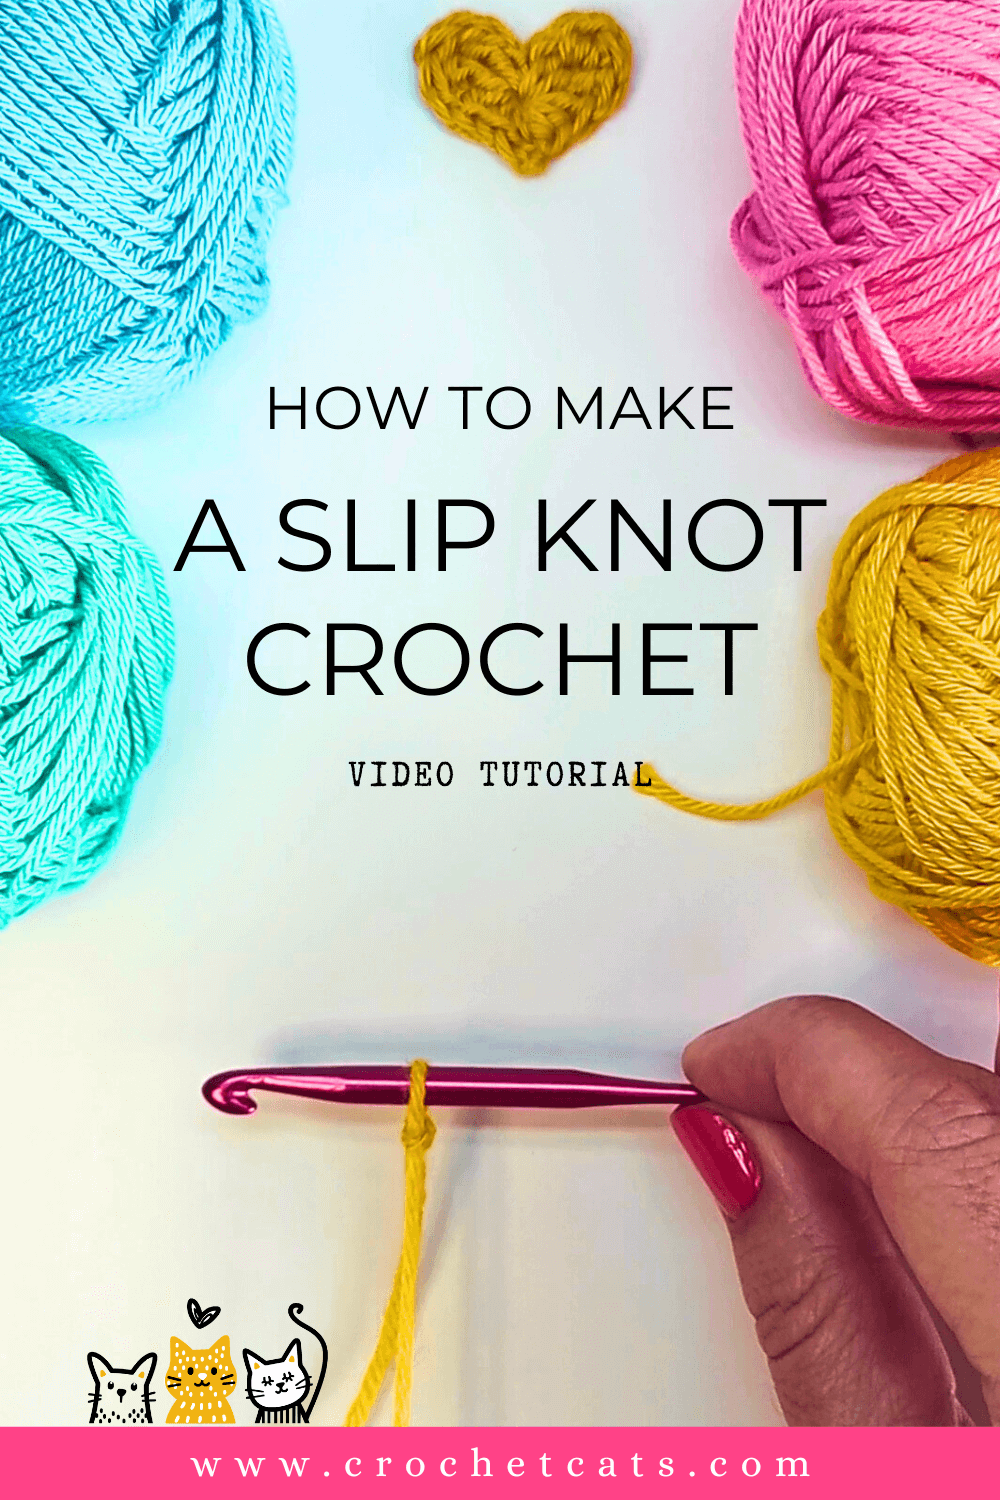
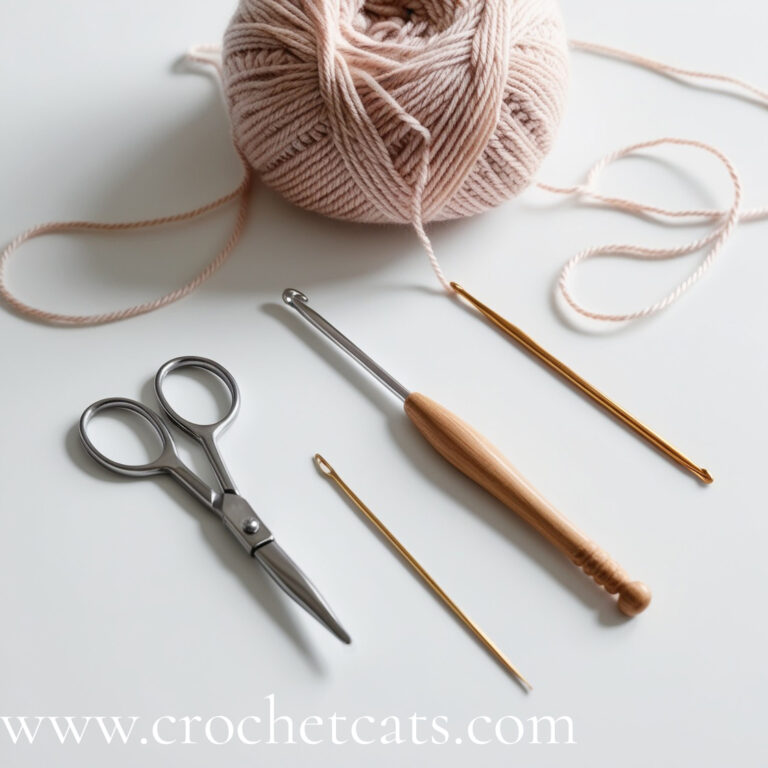
To get started with the slip knot crochet stitch, here are the essential materials:
- Yarn: Choose yarn that fits your project. Medium-weight yarn, such as worsted or DK, is beginner-friendly.
- Crochet Hook: The right hook size depends on the yarn. For most medium-weight yarns, a 5 mm or 6 mm hook is ideal. Keep various sizes on hand, as hook size affects the slip knot tension.
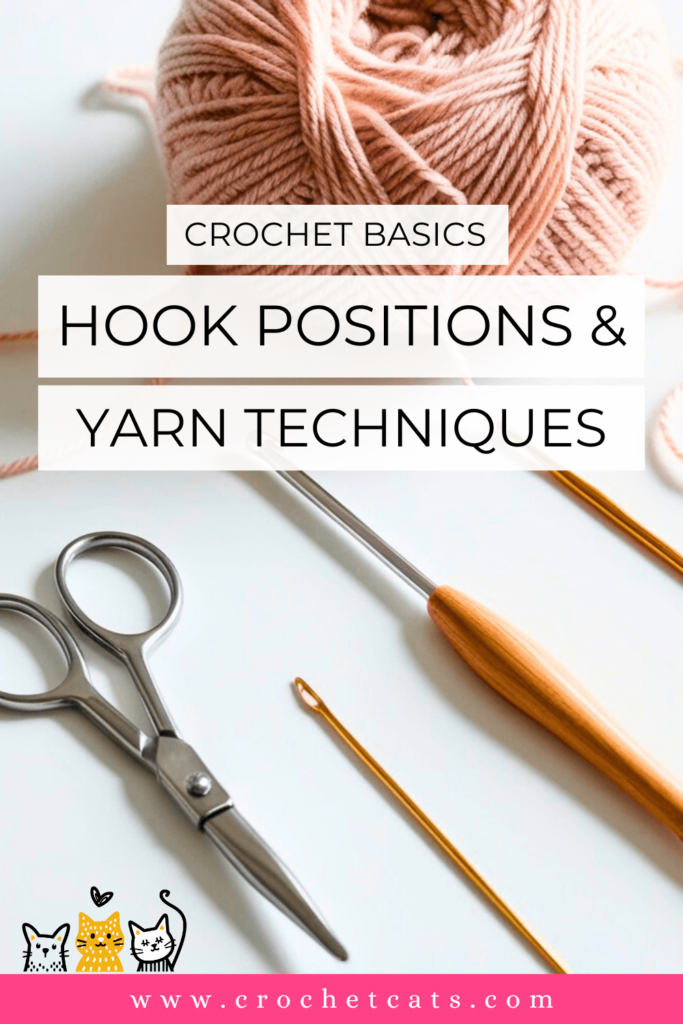
- Scissors: A pair of small scissors for trimming yarn at the end of projects is a must-have.
- Tapestry Needle: Used for weaving in loose ends, yarn needles are especially helpful for finishing projects.
- Stitch markers: Stitch markers can help beginners keep track of rows or rounds, especially useful when practicing new techniques.
Common Mistakes to Avoid
Too Tight or Too Loose: Maintaining consistent tension is crucial for even slip stitches. Practice with different tensions to find what works best for you.
Missing Stitches: Beginners often overlook stitches, especially in the beginning rows. Use stitch markers or count regularly to keep track.
Incorrect Hook Size: Always check the yarn label for the recommended hook size. Using the wrong size can lead to tight or loose stitches, affecting the overall look of your project.
Not Knowing When to Slip Stitch: Understanding the purpose of slip stitches in various projects can prevent frustration. Practice in swatches to get comfortable with when and how to use them.
- Patterns
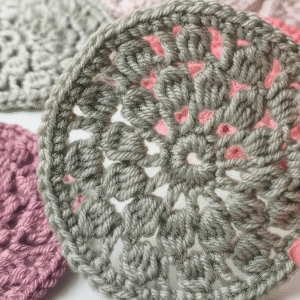
Blossom Medallion Coaster Crochet Pattern
$5.00Original price was: $5.00.$3.00Current price is: $3.00. Add to basket - Patterns
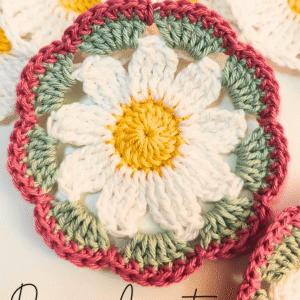
Daisy Coaster Crochet Pattern
$5.00Original price was: $5.00.$3.00Current price is: $3.00. Add to basket - Patterns
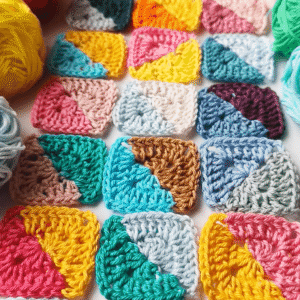
Half and Half Granny Square Crochet Pattern
$5.00Original price was: $5.00.$0.00Current price is: $0.00. Add to basket - Patterns
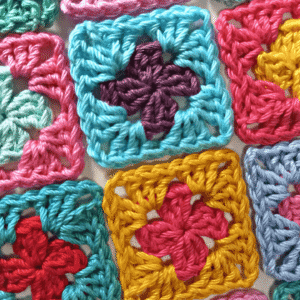
Two-Color Mini Granny Square Crochet Pattern
$5.00Original price was: $5.00.$0.00Current price is: $0.00. Add to basket
Patterns and Projects Using Slip Stitch Crochet
1. Slip Stitch Scarf
Project Overview: A warm and stylish scarf is a great beginner project that uses alternating slip stitches for added texture.
Materials Needed:
- Bulky yarn
- Size N crochet hook
- Scissors
Instructions:
- Foundation Chain: Create a foundation chain of 30 stitches.
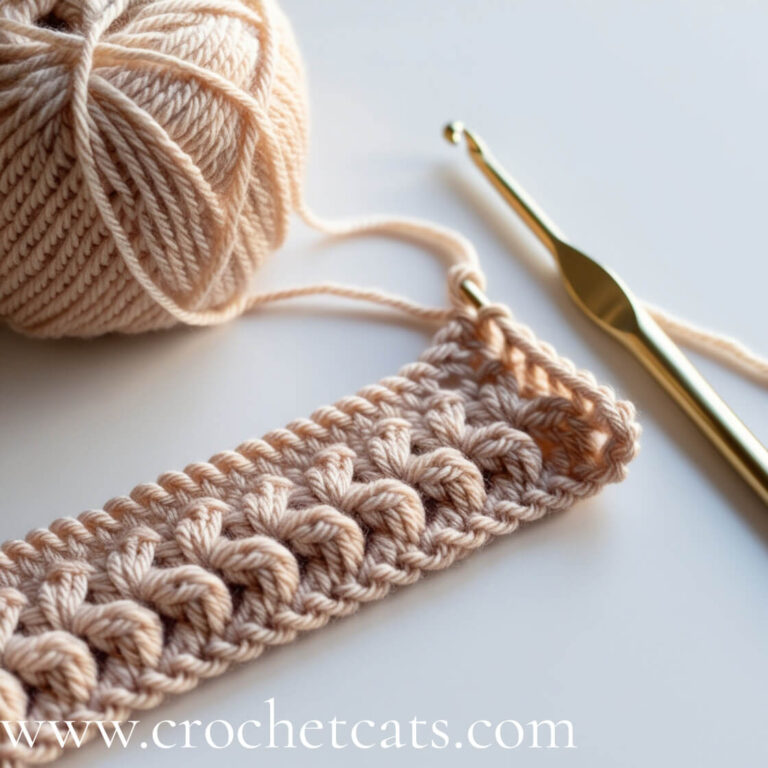
- Row 1: Slip stitch in each chain across the row.
- Rows 2-10: Continue working in slip stitches until the scarf reaches your desired length (approximately 60 inches is typical).
- Finishing: Weave in ends and trim any excess yarn.
2. Slip Stitch Dishcloth
Project Overview: This simple yet practical dishcloth is perfect for beginners to practice their slip stitch techniques.
Materials Needed:
- Cotton yarn (for absorbency)
- Size H crochet hook
Instructions:
- Foundation Chain: Start with a chain of 25 stitches.
- Row 1: Slip stitch in each chain across the row.
- Rows 2-20: Continue until the cloth reaches your desired size (usually 8×8 inches).
- Finishing: Weave in ends and trim any excess yarn.
3. Slip Stitch Blanket
Project Overview: Create a cozy blanket using slip stitch techniques to join individual squares.
Materials Needed:
- Various yarn colors (for a patchwork effect)
- Size I crochet hook
Instructions:
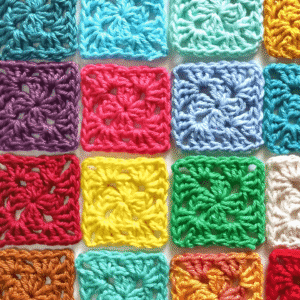
- Create Squares: Crochet multiple granny squares using your preferred pattern.
- Joining: Use slip stitches to join the squares together, ensuring the seams are flat and neat.
- Border: Add a border around the entire blanket using slip stitches for a polished finish.
4. Slip Stitch Cowl
Project Overview: A stylish cowl is a quick project that showcases slip stitches in the round.
Materials Needed:
- Worsted weight yarn
- Size H crochet hook
Instructions:
- Foundation Chain: Chain 60 stitches and join to form a circle.
- Rounds 1-10: Work in slip stitches for each round, alternating colors if desired.
- Finishing: Slip stitch to the first stitch to join and weave in all ends.
- Patterns
Blossom Medallion Coaster Crochet Pattern
$5.00Original price was: $5.00.$3.00Current price is: $3.00. Add to basket - Patterns
Daisy Coaster Crochet Pattern
$5.00Original price was: $5.00.$3.00Current price is: $3.00. Add to basket - Patterns
Half and Half Granny Square Crochet Pattern
$5.00Original price was: $5.00.$0.00Current price is: $0.00. Add to basket - Patterns
Two-Color Mini Granny Square Crochet Pattern
$5.00Original price was: $5.00.$0.00Current price is: $0.00. Add to basket
Tips for Mastery
Practice Makes Perfect: Spend time practicing slip stitches in swatches. Try various yarn types and hook sizes to see how they affect your tension and finish.
Experiment with Different Yarns: Different yarn textures can impact your slip stitches. Wool, cotton, and acrylic will each produce distinct results.
Use Stitch Markers: When working on larger projects, use stitch markers to keep track of your progress and to avoid missing stitches.
Join Online Communities: Join crochet forums or social media groups where you can share your projects, ask for advice, and learn from others’ experiences.
Keep a Crochet Journal: Document your projects, materials used, and any techniques learned. This can help track your progress and provide inspiration for future projects.
Frequently Asked Questions (FAQ) – Slip Stitch
What is the difference between a slip stitch and a single crochet?
A slip stitch is used primarily for joining and creating flat surfaces, while a single crochet creates height in your work, adding texture and volume. Single crochet stitches are taller, making them suitable for building fabric, whereas slip stitches are more about finishing and smooth transitions.
Can I use slip stitch crochet for intricate designs?
Absolutely! Slip stitches can be combined with other crochet techniques to create beautiful designs. Many advanced patterns incorporate slip stitches for joining or decorative effects.
How do I know which projects are best for slip stitch crochet?
Look for patterns that specifically mention slip stitches or those that involve joining pieces, edging, or working in the round. Slip stitches are also great for creating decorative borders and textures.
Is slip stitch crochet suitable for beginners?
Yes! Slip stitches are one of the simplest techniques to learn, making them perfect for beginners. They provide a solid foundation for understanding more complex crochet skills.
Can slip stitch crochet be used for shaping projects?
Yes, slip stitches can be utilized for shaping, especially in amigurumi and other 3D projects. They help in seamlessly transitioning between different sections of your project.
What are some common patterns that feature slip stitches?
Many patterns, such as blankets, scarves, and dishcloths, incorporate slip stitches. Look for beginner patterns that focus on square or rectangular shapes, as these often utilize slip stitches for joining or finishing edges.
Conclusion
Slip stitch crochet is a versatile and essential technique for every crocheter, from beginners to advanced. With its ease of use and ability to enhance your projects, mastering slip stitch crochet will open up a world of creative possibilities. Start incorporating slip stitches into your work today and explore the many beautiful projects you can create!
By following this guide, you’ll be on your way to mastering chain stitch in crochet. With practice and attention to detail, this foundational technique will soon become second nature, enabling you to tackle more complex projects with confidence!
Crochet Patterns
- Patterns
Blossom Medallion Coaster Crochet Pattern
$5.00Original price was: $5.00.$3.00Current price is: $3.00. Add to basket - Patterns
Daisy Coaster Crochet Pattern
$5.00Original price was: $5.00.$3.00Current price is: $3.00. Add to basket - Patterns
Half and Half Granny Square Crochet Pattern
$5.00Original price was: $5.00.$0.00Current price is: $0.00. Add to basket - Patterns
Two-Color Mini Granny Square Crochet Pattern
$5.00Original price was: $5.00.$0.00Current price is: $0.00. Add to basket
Accessories
- Patterns
Blossom Medallion Coaster Crochet Pattern
$5.00Original price was: $5.00.$3.00Current price is: $3.00. Add to basket - Patterns
Daisy Coaster Crochet Pattern
$5.00Original price was: $5.00.$3.00Current price is: $3.00. Add to basket - Patterns
Half and Half Granny Square Crochet Pattern
$5.00Original price was: $5.00.$0.00Current price is: $0.00. Add to basket - Patterns
Two-Color Mini Granny Square Crochet Pattern
$5.00Original price was: $5.00.$0.00Current price is: $0.00. Add to basket - Patterns
Solid Mini Granny Square Crochet Pattern
$5.00Original price was: $5.00.$0.00Current price is: $0.00. Add to basket

