The magic ring (also called magic circle, magic loop, or adjustable ring) is one of the most essential techniques in crochet, especially for projects worked in the round like amigurumi toys, hats, coasters, granny squares, and more. It creates a tight, hole-free center that’s far superior to the traditional “chain 2 and work into the second chain” method, which often leaves a noticeable gap.
Many beginner patterns start with a magic ring and exactly 6 stitches in the first round because 6 is a perfect number for even increases (multiples of 6 help create flat, symmetrical circles without rippling). The stitch type changes the height and look: single crochet (SC) for tight amigurumi, half double crochet (HDC) for slightly taller rounds, and double crochet (DC) for lacy or quicker circles.
Below, I’ll walk you through each variation with step-by-step instructions.
What You’ll Need:
Before we begin, let’s make sure you have everything you need.
Yarn: Acrylic, cotton, or a blend are all great choices. This is a fantastic project for using up those smaller scraps of yarn you have lying around.
My Pick:Stylecraft Special DK Yarn – This yarn is incredibly soft, comes in a rainbow of colors, and is a dream to work with!
Crochet Hook: The size of your hook will depend on your yarn weight and your personal tension. For worsted weight yarn, a 4.0mm (G-6) or 5.0mm (H-8) hook is generally recommended. If you’re using a thinner yarn, go down a hook size; if you’re using a thicker yarn, go up.
My Pick:Ergonomic Crochet Hook Set – A comfortable hook makes a huge difference, especially if you plan on crocheting for longer periods. This set offers a variety of sizes and a comfortable grip.
Yarn Needle (Tapestry Needle): Essential for weaving in those pesky ends and making your finished project look neat and professional.
If you’re new to these stitches, a quick search on YouTube for “how to chain crochet,” “how to slip stitch crochet,” or “how to double crochet” will give you excellent visual guides. Practice a few until you feel comfortable before diving into the granny square.
Let’s Get Crocheting!
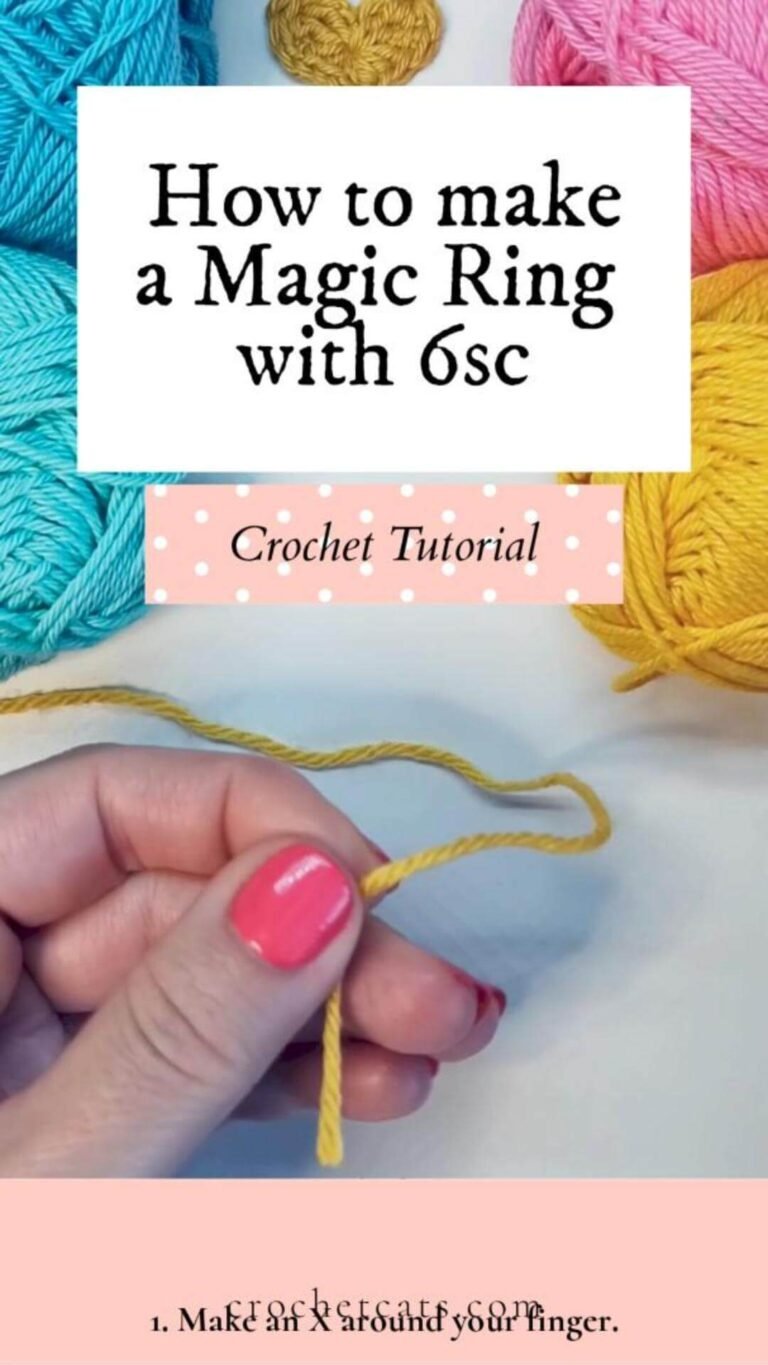
Here we go! Follow these instructions carefully, and you’ll have a beautiful magic ring with 6 single crochet in no time.
This is the go-to for stuffed toys because single crochet creates dense, tight fabric that holds stuffing perfectly.
Pattern line: Magic ring, 6 sc in ring. (6 sts)
After the magic ring and ch 1, work 6 single crochets into the center.
Pull tail tight.
Result: A small, solid circle with no gap—ideal for heads, bodies, paws.
Tips for Success with Magic Rings
Practice on scrap yarn first—tension matters! If the tail won’t pull tight, you may have wrapped incorrectly (try the “double magic ring” variation for extra security). Count stitches carefully—missing one ruins the symmetry. For flat circles, increase by 6 each round (e.g., round 2: 2 sc in each st = 12; round 3: [1 sc, inc] x6 = 18).
Mastering the magic ring opens up endless crochet possibilities. Start with 6 SC for amigurumi practice, then experiment with HDC and DC. Happy hooking—your next adorable project starts here! 🧶✨ Pin this post or save it for your next crochet session. What’s your favorite way to start in the round? Drop a comment below!