Mastering Hook Positions and Yarn Techniques
Table of Contents
- Pencil Position: Learn the basics of holding your crochet hook in pencil grip.
- Knife Position: Master the knife grip for a stable crochet hold.
- Holding the Yarn Technique #1: Explore simple yarn-holding techniques to maintain tension.
- Holding the Yarn Technique #2: Practice another effective yarn-holding style to prevent tension issues.
- Tensioning the Yarn: Discover ways to maintain consistent tension for an even crochet piece.
- Adding Crochet Stitches: Learn to add chains, single, double, and half-double crochet stitches.
- Changing Colors in Crochet: Tips on how to switch colors smoothly in any project.
- Finishing Techniques: Methods to finish off and weave in ends professionally.
Introduction to Basic Crochet
Whether you’re picking up a crochet hook for the first time or want to brush up on the fundamentals, this guide covers every essential aspect of crochet. From holding the hook correctly to managing yarn tension, these basics will set you up for crochet success. We’ll go through each fundamental technique step-by-step, complete with tips on perfecting your grip, maintaining tension, and practicing foundational stitches. Let’s dive into this comprehensive guide to basic crochet and build your skills from the ground up.
Pencil Position
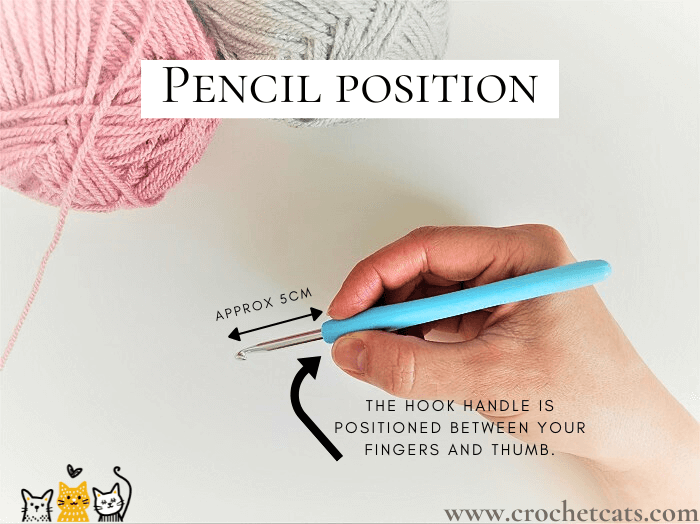
The pencil position is ideal for beginners because it resembles holding a pencil. Here’s how to master it:
- Hold your crochet hook in your dominant hand as you would a pencil.
- Place the hook end facing away from you.
- Rest the shaft of the hook on your index finger while your thumb and middle finger gently hold the handle.
- Practice controlling the hook with gentle wrist movements.
Benefits of Pencil Position:
- Allows for precision in stitch-making.
- Comfortable for people with smaller hands or less wrist flexibility.
Tips for Mastering Pencil Position:
- Experiment with where you place your fingers along the hook.
- Keep your grip loose and your hand relaxed to avoid fatigue.
Knife Position
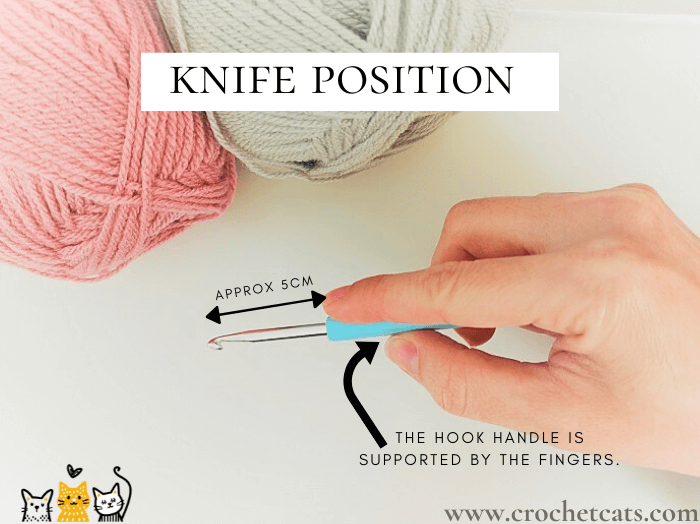
The knife position, also known as the overhand grip, can feel more natural to some. Here’s how it works:
- Hold the crochet hook as if you were holding a knife, with your palm facing down.
- Wrap your fingers around the handle, using your index finger to guide the shaft of the hook.
- The hook should point outward, away from your body.
- Practice creating even stitches by rotating your wrist slightly as you work.
Benefits of Knife Position:
- Great for speed once you develop muscle memory.
- Allows for a stable grip that can reduce hand strain.
Tips for Mastering Knife Position:
- If your hook slips, try using a crochet hook with a textured grip.
- Be mindful of your wrist angle to prevent tension build-up.
Materials You’ll Need For Crochet
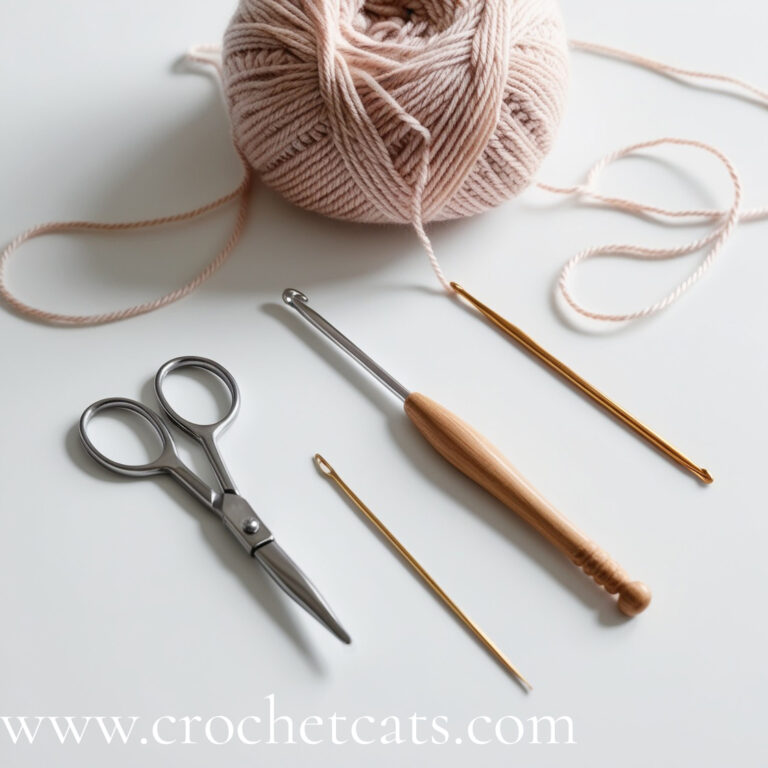
To get started with the double treble crochet stitch, here are the essential materials:
- Yarn: Most yarn weights work well with Double Treble Crochet, but medium-weight (size 4) yarn is ideal for beginners.
- Crochet Hook: Choose the hook size recommended on your yarn label.
- Scissors: Essential for trimming yarn at the end of your project.
- Tapestry Needle: For weaving in yarn ends and finishing touches.
- Stitch markers: Help you keep track of specific points within your work.
- Measuring Tape: For measuring your work to ensure it meets your desired dimensions.
Selecting Yarn
When selecting yarn for your crochet projects, consider the following:
- Weight: For beginners, a worsted weight yarn is ideal because it is easy to handle and offers great stitch definition.
- Fiber Content: Wool, cotton, and acrylic yarns all work well. Wool provides warmth, cotton is breathable for summer garments, and acrylic is budget-friendly and versatile.
- Color and Texture: Experiment with different colors and textures. Variegated or self-striping yarns can add interesting visual effects to your projects.
Choosing the Right Hook
The size of the crochet hook affects the appearance of your double treble crochet stitch. A larger hook results in looser stitches, while a smaller hook creates tighter, more defined stitches. As a general guideline:
- For Worsted Weight Yarn: Use a hook size between 5.5mm (I-9) and 6.5mm (K-10.5).
It’s also beneficial to use a hook made from a material that you feel comfortable with. Options include aluminum, plastic, or bamboo, each providing a different grip and feel.
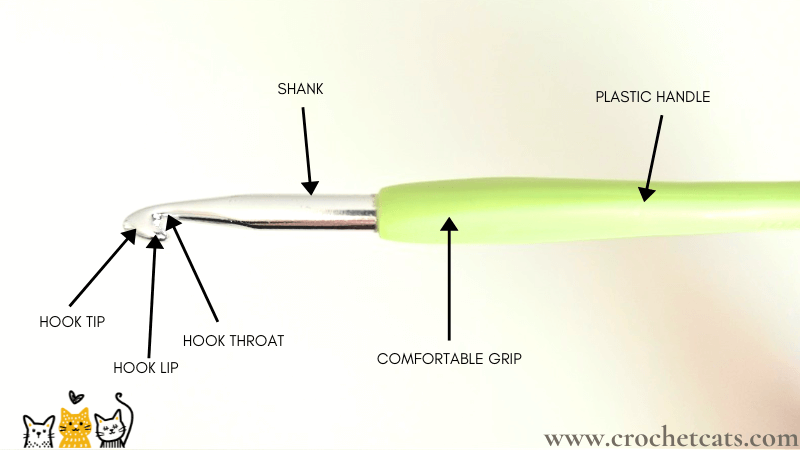
Crochet Hook
It has a long handle with a small hook or notch at one end that grabs and pulls yarn through loops, forming stitches. Crochet hooks come in a variety of sizes, materials (like metal, wood, plastic, or bamboo), and types to suit different yarn weights, stitch techniques, and personal preferences.
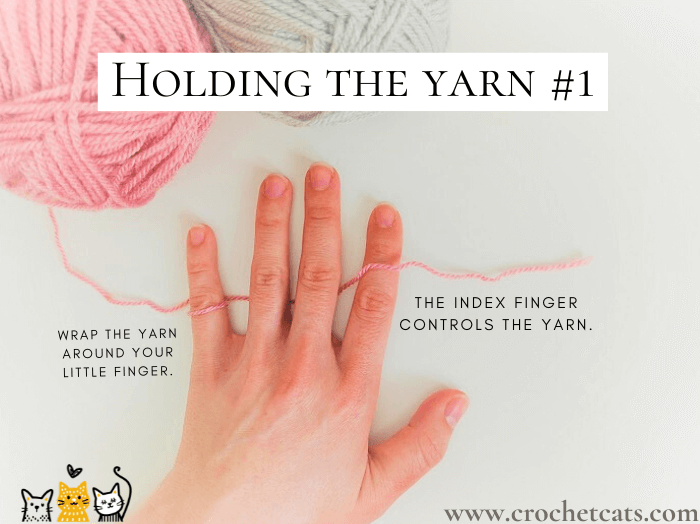
Holding the Yarn Technique #1
In crochet, consistent tension is essential for uniform stitches. Here’s one basic yarn-holding method to get started:
- Hold your hook in your dominant hand.
- Drape the yarn over the index finger of your non-dominant hand.
- Use your other fingers to gently guide and tension the yarn.
- Move your index finger up and down as needed to create the right amount of tension for each stitch.
Tips for Technique #1:
- Loosen your grip if you notice your stitches are too tight.
- Keep your hand relaxed to prevent fatigue.
- Patterns
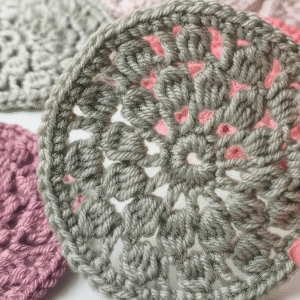
Blossom Medallion Coaster Crochet Pattern
$5.00Original price was: $5.00.$3.00Current price is: $3.00. Add to basket - Patterns
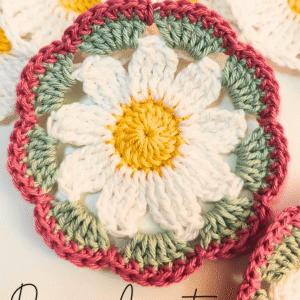
Daisy Coaster Crochet Pattern
$5.00Original price was: $5.00.$3.00Current price is: $3.00. Add to basket - Patterns
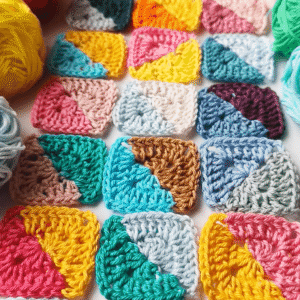
Half and Half Granny Square Crochet Pattern
$5.00Original price was: $5.00.$0.00Current price is: $0.00. Add to basket - Patterns
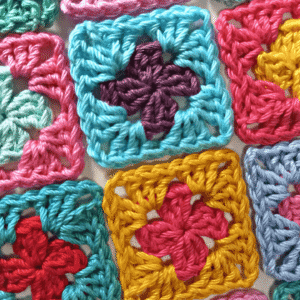
Two-Color Mini Granny Square Crochet Pattern
$5.00Original price was: $5.00.$0.00Current price is: $0.00. Add to basket
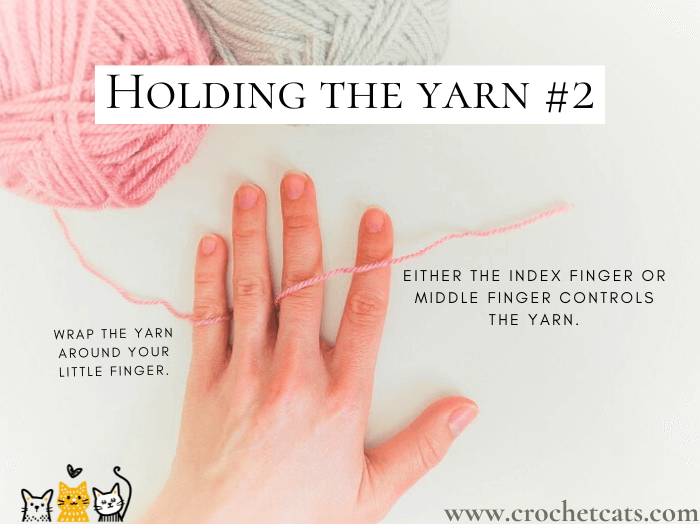
Holding the Yarn Technique #2
Here’s another popular way to hold the yarn that can offer more control:
- Drape the yarn over your pinky and bring it under the ring and middle fingers.
- Loop the yarn over your index finger.
- Use your index finger to control the tension while your other fingers help guide the yarn.
Benefits of Technique #2:
- Provides better control over the yarn, especially for beginners.
- Reduces the chances of creating overly tight stitches.
- Accessories
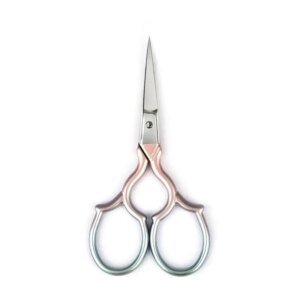
Stainless Steel Small Scissors
$13.95 Select options This product has multiple variants. The options may be chosen on the product page - Accessories
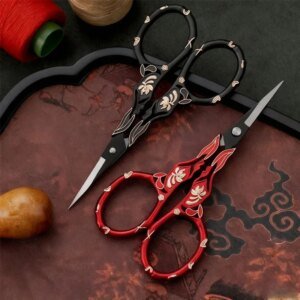
1 Pair Embroidery Scissors – Sharp Stainless Steel
$13.95 – $15.96Price range: $13.95 through $15.96 Select options This product has multiple variants. The options may be chosen on the product page
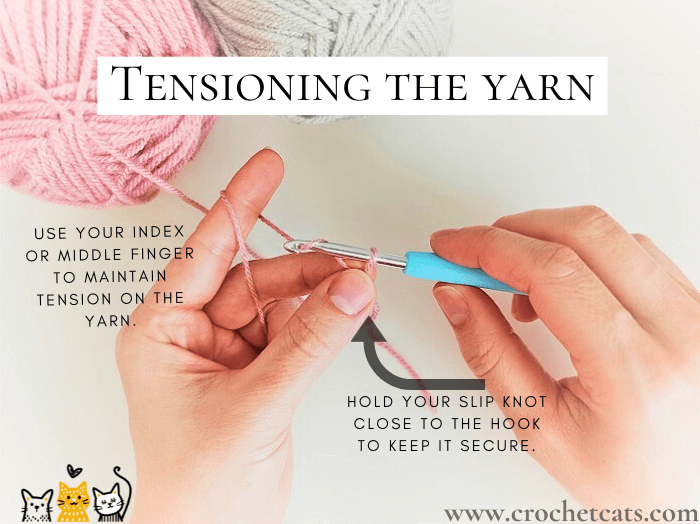
Tensioning the Yarn
Tension is a critical aspect of crochet; it affects the look, feel, and durability of your work. Practice these tips for better yarn tension:
- Find the Right Yarn Path: Whether you use the over-index or over-pinky technique, find the method that feels most natural.
- Control with Your Index Finger: Adjust the height of your index finger to keep the yarn taut.
- Keep Your Hands Relaxed: Avoid a death grip; a gentle hold on the yarn will reduce hand strain and produce smoother stitches.
- Practice Makes Perfect: Tension consistency will improve as you crochet more projects.
Adding Crochet Stitches
Mastering a few foundational stitches is all you need to get started. Here are the essentials:
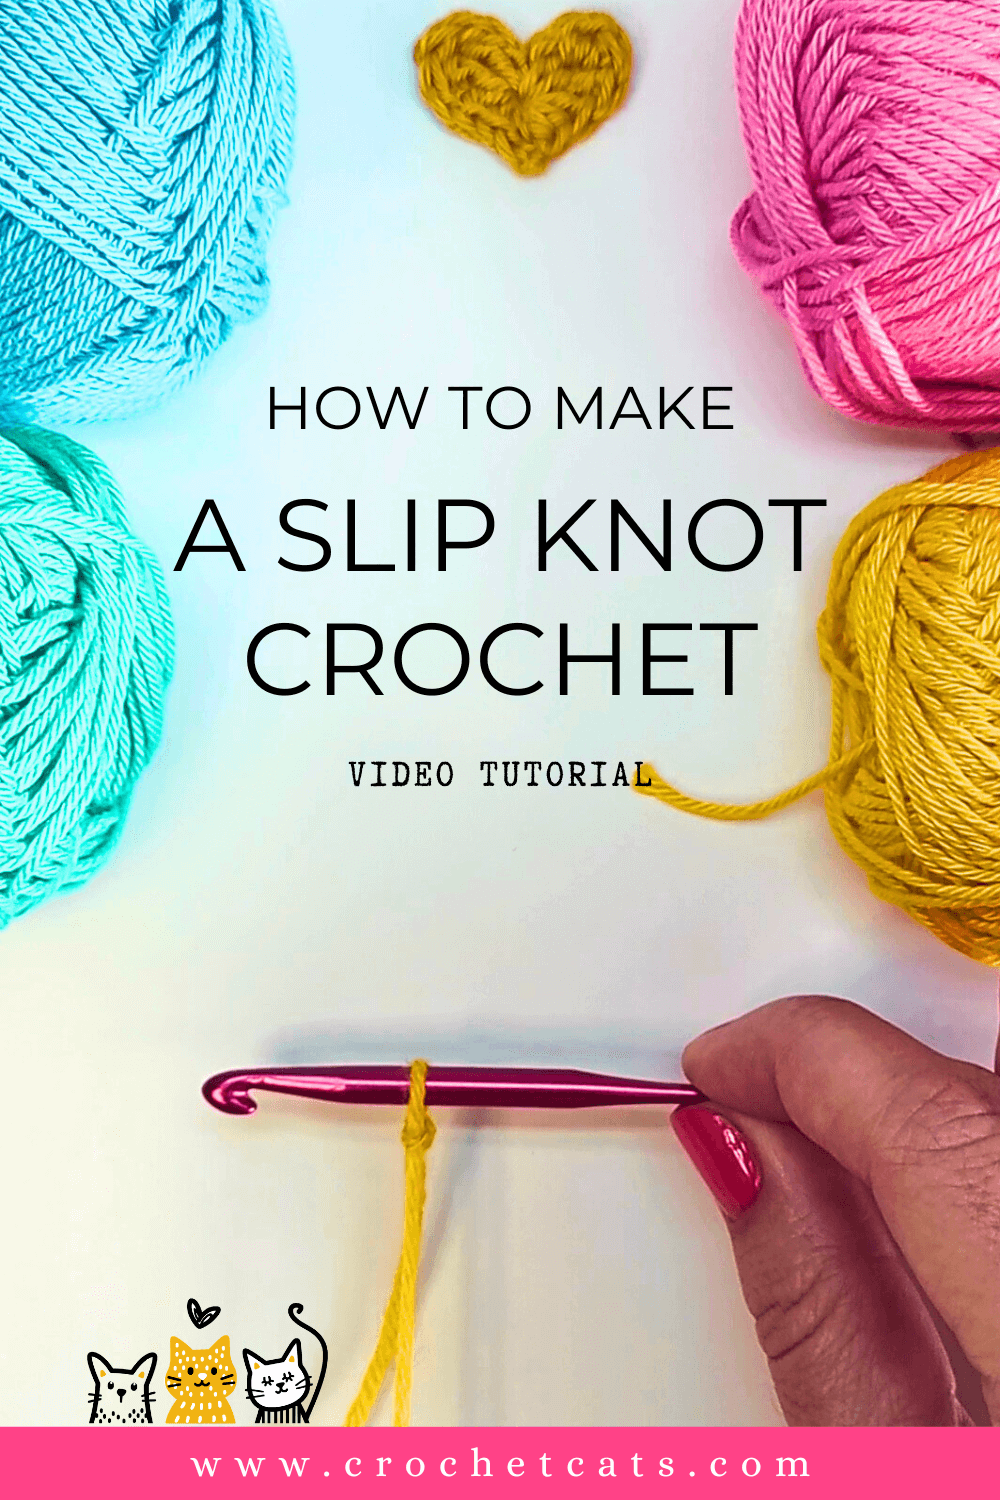
1. Slip Knot:
- Make a loop with the yarn, leaving a short tail.
- Pull a section of the working yarn (yarn connected to the ball) through the loop to form a second loop.
- Insert your hook into this new loop and pull gently on both the tail and working yarn to tighten it around the hook.
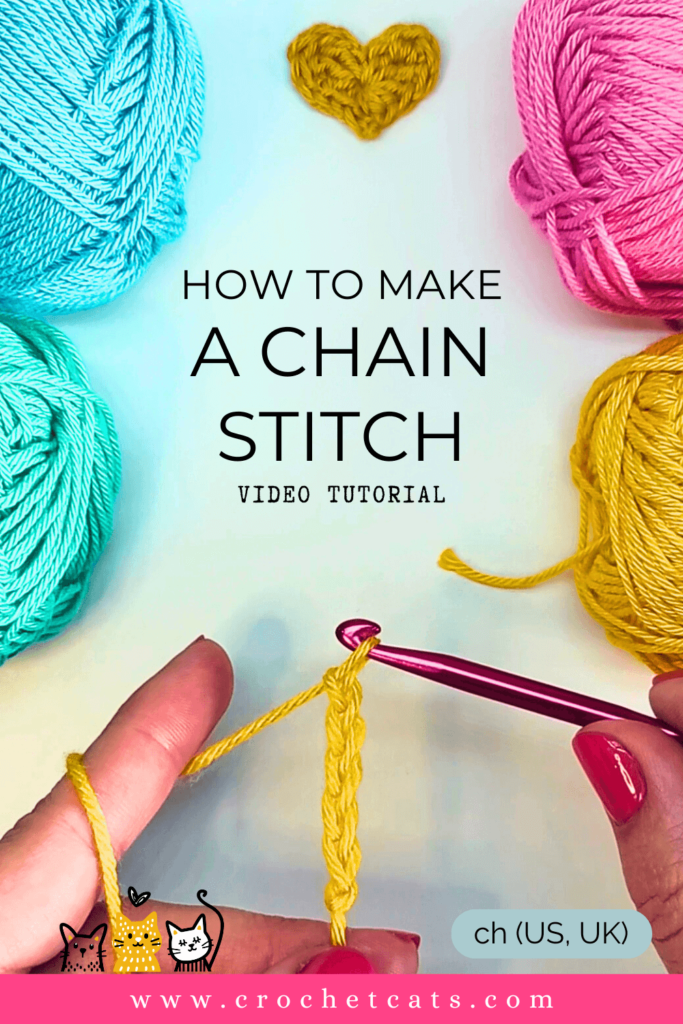
- Yarn over, then pull through the loop on your hook. Repeat until you have the desired number of chains.
- Insert the hook into the stitch.
- Yarn over and pull through both the stitch and the loop on your hook in one motion.
- Insert your hook into the stitch, yarn over, and pull through (2 loops on hook).
- Yarn over again and pull through both loops.
- Yarn over, insert hook into stitch, yarn over and pull through (3 loops on hook).
- Yarn over again, pull through all three loops on the hook.
- Yarn over, insert hook into the stitch, yarn over, pull through (3 loops on hook).
- Yarn over again, pull through two loops (2 loops remain), yarn over, pull through the last two loops.
- Yarn over twice before inserting the hook into the stitch.
- Insert the hook into the stitch and yarn over, pulling through (4 loops on the hook).
- Yarn over and pull through the first 2 loops (3 loops left).
- Yarn over again, pull through the next 2 loops (2 loops left).
- Yarn over one last time, pull through the final 2 loops.
8. Double Treble Crochet (dtr):
- Yarn over three times before inserting the hook into the stitch.
- Insert the hook into the stitch, yarn over, and pull through (5 loops on the hook).
- Yarn over and pull through the first 2 loops (4 loops left).
- Yarn over again, pull through the next 2 loops (3 loops left).
- Yarn over again, pull through the next 2 loops (2 loops left).
- Yarn over one last time, pull through the final 2 loops.
Changing Colors in Crochet
Adding new colors to your crochet work brings variety and vibrancy. Here’s how to change colors smoothly:
- Complete the last stitch of your row, stopping just before the final yarn over.
- Drop the current color, loop the new color over your hook, and pull through to complete the stitch.
- Start the next stitch with the new color, and secure any loose ends by weaving them in.
Pro Tips:
- Always switch colors at the end of a row for a cleaner look.
- Weave in your ends as you go to avoid a tangle of loose threads at the end.
Finishing Techniques
When you complete your project, a few finishing techniques will give it a professional polish:
- Fasten Off: After your last stitch, cut the yarn (leaving a few inches), and pull it through the final loop.
- Weave in Ends: Using a yarn needle, weave any loose ends back and forth through your stitches for a secure finish.
- Blocking: For certain projects like doilies or lace, dampen and shape your work, then pin it in place to dry for a neat finish.
Frequently Asked Questions (FAQs)
Q: What size crochet hook should a beginner use?
A: For beginners, a 5mm (H-8) hook paired with medium-weight yarn (category 4) is a good starting point. It’s large enough to see your stitches clearly without being too bulky.
Q: How do I stop my stitches from being too tight?
A: Keep your grip relaxed and practice consistent yarn tension by draping it comfortably over your fingers. Tight stitches often result from an overly tense grip or pulling too hard on the yarn.
Q: What’s the difference between single crochet and double crochet?
A: A single crochet stitch is shorter and more compact, while a double crochet is longer and more open. Double crochet is great for faster progress on larger projects.
Q: Can I mix yarn weights in one project?
A: Yes, but be mindful of the overall look and feel. Different weights can add texture, but using similar weights throughout a single project typically produces the best results.
Q: How often should I take breaks while crocheting?
A: To avoid strain, try taking a short break every 20-30 minutes. Stretch your fingers and wrists to keep your hands comfortable during extended crochet sessions.
With these crochet basics, you’re well on your way to creating beautiful, handmade projects. Whether it’s a cozy scarf or an intricate afghan, mastering these skills will help bring your crochet ideas to life!
Crochet Patterns
- Patterns
Blossom Medallion Coaster Crochet Pattern
$5.00Original price was: $5.00.$3.00Current price is: $3.00. Add to basket - Patterns
Daisy Coaster Crochet Pattern
$5.00Original price was: $5.00.$3.00Current price is: $3.00. Add to basket - Patterns
Half and Half Granny Square Crochet Pattern
$5.00Original price was: $5.00.$0.00Current price is: $0.00. Add to basket - Patterns
Two-Color Mini Granny Square Crochet Pattern
$5.00Original price was: $5.00.$0.00Current price is: $0.00. Add to basket
Accessories
- Patterns
Blossom Medallion Coaster Crochet Pattern
$5.00Original price was: $5.00.$3.00Current price is: $3.00. Add to basket - Patterns
Daisy Coaster Crochet Pattern
$5.00Original price was: $5.00.$3.00Current price is: $3.00. Add to basket - Patterns
Half and Half Granny Square Crochet Pattern
$5.00Original price was: $5.00.$0.00Current price is: $0.00. Add to basket - Patterns
Two-Color Mini Granny Square Crochet Pattern
$5.00Original price was: $5.00.$0.00Current price is: $0.00. Add to basket - Patterns
Solid Mini Granny Square Crochet Pattern
$5.00Original price was: $5.00.$0.00Current price is: $0.00. Add to basket

