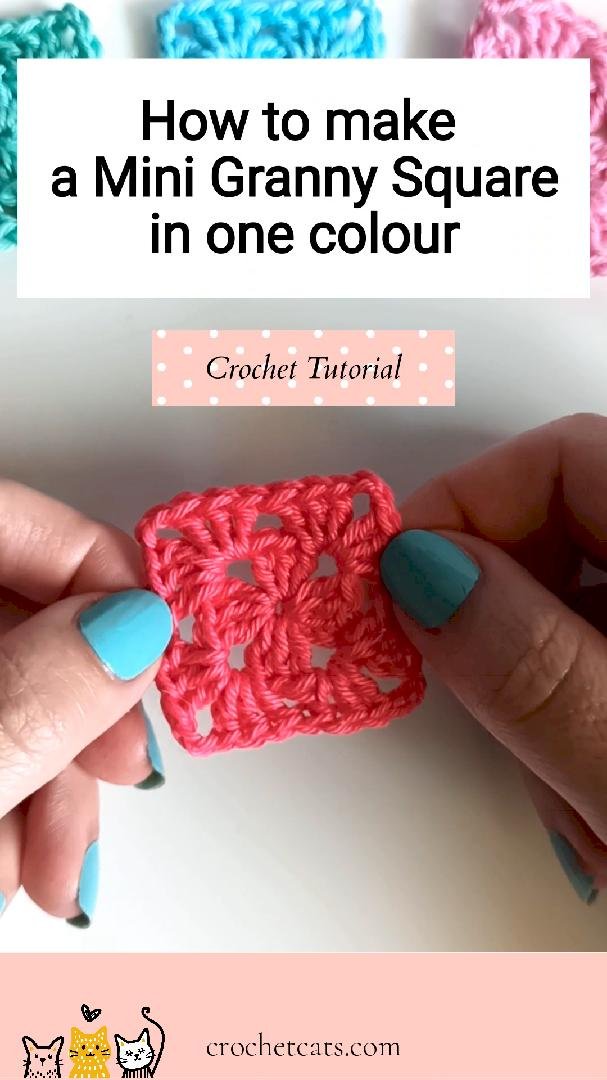
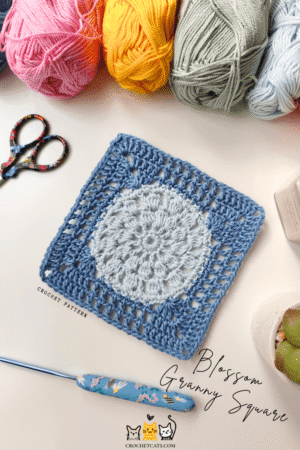
Today, we’re diving into the wonderful world of crochet with a project that’s as charming as it is versatile: the mini granny square.
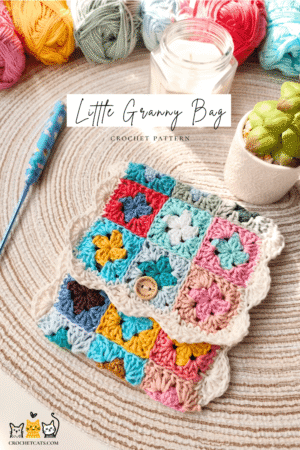
Mini granny squares are tiny powerhouses of creativity. They can be transformed into adorable keychains, vibrant embellishments for garments, charming coasters, or even joined together to form larger, more intricate projects like blankets or bags. The possibilities are truly endless, and the satisfaction of creating these little beauties is immense.
Ready to get started? Let’s gather our supplies and unleash our inner crochet artist!
What You’ll Need:
Before we begin, let’s make sure you have everything you need. Having the right tools makes all the difference!
Yarn: For a mini granny square, you won’t need much! Any worsted weight (or Aran) yarn will work beautifully. Acrylic, cotton, or a blend are all great choices. This is a fantastic project for using up those smaller scraps of yarn you have lying around.
My Pick:Stylecraft Special DK Yarn – This yarn is incredibly soft, comes in a rainbow of colors, and is a dream to work with!
Crochet Hook: The size of your hook will depend on your yarn weight and your personal tension. For worsted weight yarn, a 4.0mm (G-6) or 5.0mm (H-8) hook is generally recommended. If you’re using a thinner yarn, go down a hook size; if you’re using a thicker yarn, go up.
My Pick:Ergonomic Crochet Hook Set – A comfortable hook makes a huge difference, especially if you plan on crocheting for longer periods. This set offers a variety of sizes and a comfortable grip.
Yarn Needle (Tapestry Needle): Essential for weaving in those pesky ends and making your finished square look neat and professional.
Double Crochet (dc): The star of the granny square! This stitch creates those lovely textured clusters.
If you’re new to these stitches, a quick search on YouTube for “how to chain crochet,” “how to slip stitch crochet,” or “how to double crochet” will give you excellent visual guides. Practice a few until you feel comfortable before diving into the granny square.
Let’s Get Crocheting! Your Step-by-Step Guide to the Mini Granny Square
Here we go! Follow these instructions carefully, and you’ll have a beautiful mini granny square in no time.
You have two options for starting your granny square: the magic ring (also known as a magic circle or adjustable ring) or a chain ring. The magic ring creates a tighter center with no hole, which many crocheters prefer for granny squares. However, a chain ring is perfectly fine, especially for beginners.
Option A: Magic Ring
Make a magic ring. The basic idea is to create a loop that you can pull tight later to close the center hole.
Chain 2 (this counts as your first double crochet).
Work 2 double crochets into the magic ring and chain 2.
Repeat step 2-3. three more times.
Join with a slip stitch to the top of the initial chain 2.
Gently pull the tail of your magic ring tight to close the center hole. You should now have 12 double crochets in a circle.
Option B: Chain Ring
Chain 4.
Join with a slip stitch to the first chain to form a ring. This will create a small hole in the center.
Chain 2 (counts as your first double crochet).
Work 2 double crochets into the magic ring and chain 2.
Repeat step 3-4. three more times.
Join with a slip stitch to the top of the initial chain 2. You should now have 12 double crochets.
Round 2: Building the Corners
Now we’re going to transform our circle into a square by creating the corners.
Chain 3 (counts as your first double crochet).
Work 2 double crochets into the same space. You now have a cluster of 3 double crochets.
Skip the next 3 stitches.
In the next chain-2 space, work 3 double crochets, chain 2, 3 double crochet. (this creates your second corner space).
(3 double crochet, chain 2, 3 double crochet) in the remaining chain-2 spaces
Join with a slip stitch to the top of the initial chain 3. You should now have 24 double crochets.
Congratulations! You’ve just completed your mini granny square!
Finishing Touches:
Fasten off your yarn by cutting it, leaving about a 6-inch tail. Yarn over and pull the tail completely through the loop on your hook to secure the stitch.
Use your yarn needle to weave in all your ends securely. This is a crucial step for a professional-looking finish and to prevent your square from unraveling.
Troubleshooting Tips for Beginners:
My square is curling/wavy: You might be crocheting too tightly or too loosely. Try adjusting your tension or going up/down a hook size. Sometimes, a good block (dampening the square and pinning it to shape while it dries) can also help.
I have too many/too few stitches: Double-check your stitch count at the end of each round. It’s easy to accidentally skip a stitch or add an extra one. Counting as you go is a great habit!
I can’t see where to put my hook: Especially in the beginning, it can be tricky to identify the top of a stitch.
My hands hurt! Take breaks! Crocheting should be enjoyable, not painful. Stretch your hands and wrists regularly. Using an ergonomic hook can also make a big difference.
Expanding Your Mini Granny Square Skills:
Once you’ve mastered the basic mini granny square, a world of creativity opens up!
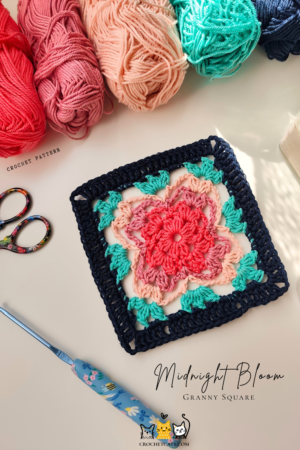
Color Changes: Experiment with changing colors at the end of each round for a vibrant, striped effect. Simply join your new color with a slip stitch at the beginning of the next round.
Joining Squares: Learn different methods for joining granny squares to create larger projects. Slip stitch, single crochet, and whip stitch are all popular joining techniques.
Border Power: Add a simple border of single crochet or a picot stitch to your squares for an extra touch of polish.
Ideas for Your Mini Granny Squares:
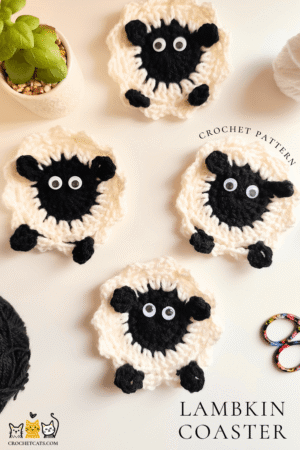
Coasters: Perfect for protecting your furniture and adding a handmade touch to your home.
Garland: String several together for a festive decoration.
Keychains: A quick and adorable gift!
Appliques: Sew them onto bags, hats, or clothing for a unique embellishment.
Bookmarks: A sweet little handmade touch for your favorite books.
Patchwork Projects: Join dozens of them to create blankets, scarves, or even garments.
Crochet is more than just making stitches; it’s a meditative and rewarding craft that allows you to create tangible beauty with your own hands. There’s a wonderful sense of accomplishment that comes with seeing your yarn transform into something beautiful and functional.
I hope this tutorial has inspired you to pick up your hook and try your hand at the mini granny square. It’s a fantastic stepping stone into the wider world of crochet, and a project you’ll find yourself coming back to again and again.
Happy hooking, and don’t forget to share your mini granny square creations with me in the comments below! I’d love to see what you make.
Disclaimer: This blog post contains affiliate links. If you make a purchase through these links, we may earn a small commission at no extra cost to you. This helps support our blog and allows us to continue creating helpful content for you.