The Ultimate Guide to Slip Knot Crochet: Mastering the Basics for Every Crochet Project
Key Takeaways:
- Comprehensive, step-by-step instructions on creating a slip knot for crochet.
- Advanced tips for achieving the perfect slip knot.
- An overview of different slip knot techniques and when to use them.
- Solutions to common slip knot problems in crochet.
- FAQ and essential tools for beginners and advanced crocheters alike.
Table of Contents
- What is a Slip Knot in Crochet?
- Step-by-Step Guide to Making a Slip Knot
- Advanced Tips for Mastering the Slip Knot
- Troubleshooting Common Slip Knot Problems
- Essential Tools for Slip Knot Crochet
- The Importance of Slip Knots in Crochet Projects
- Variations of Slip Knot Techniques for Different Projects
- Popular Crochet Projects Using Slip Knots
- FAQ
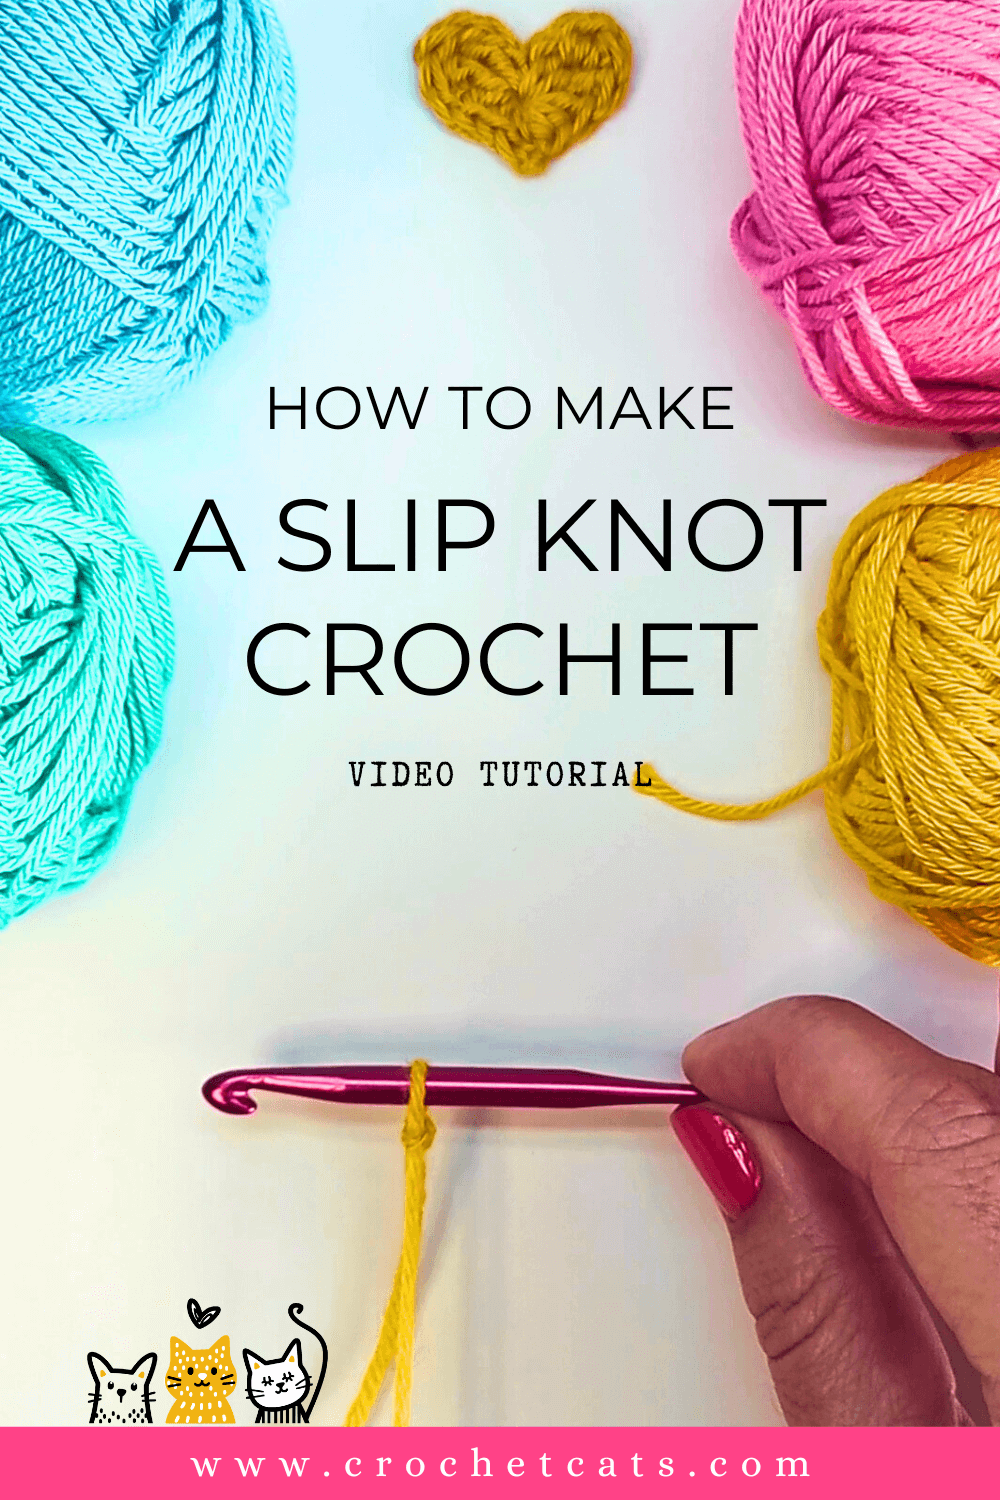
What is a Slip Knot in Crochet?
A slip knot is the starting point for nearly every crochet project. It’s a fundamental loop that anchors yarn to the crochet hook, forming the foundation for starting chains and rows. Crocheters use slip knots because they are easy to make, adjustable, and suitable for all kinds of yarn and patterns. With a well-made slip knot, you can avoid issues like unraveling or uneven tension, which are common in the early stages of crochet.
How to Make a Slip Knot in Crochet:
Step-by-Step Guide
Step 1: Hold the Yarn
Hold the yarn between your thumb and index finger, leaving a short “tail” end. The working yarn should come from the skein and sit on top of your hand, while the tail end hangs loosely.
Step 2: Create a Loop
Twist the yarn in your hand to create a loop, with the working yarn crossing over the tail end to form a circular shape.
Step 3: Insert the Hook
With your hook, go under the loop and grab the working end of the yarn, pulling it through the loop.
Step 4: Tighten the Knot
Adjust the knot’s tightness by gently pulling on both ends. The slip knot should sit comfortably on the hook without excessive tightness, making it easy to start your first chain.
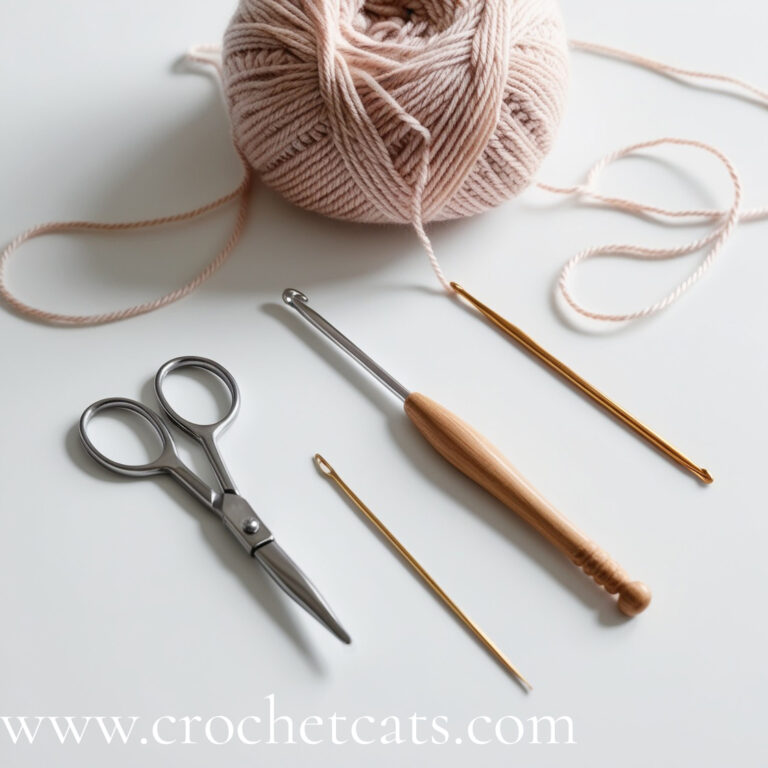
Materials You’ll Need
To get started with the slip knot crochet stitch, here are the essential materials:
- Yarn: Choose yarn that fits your project. Medium-weight yarn, such as worsted or DK, is beginner-friendly.
- Crochet Hook: The right hook size depends on the yarn. For most medium-weight yarns, a 5 mm or 6 mm hook is ideal. Keep various sizes on hand, as hook size affects the slip knot tension.
- Scissors: A pair of small scissors for trimming yarn at the end of projects is a must-have.
- Tapestry Needle: Used for weaving in loose ends, yarn needles are especially helpful for finishing projects.
- Stitch markers: Stitch markers can help beginners keep track of rows or rounds, especially useful when practicing new techniques.
Advanced Tips for Mastering the Slip Knot
Experiment with Different Yarn Types: Yarn texture and thickness can impact the tightness of your slip knot. For example, wool is stretchier than cotton, so wool knots may need extra tension control.
Practice with Larger Hooks: Larger hooks allow you to see the loops and knots more clearly, helping you adjust for any tightness or looseness. Beginners might find larger hooks helpful for initial practice.
Use Both Hands to Adjust: Don’t hesitate to use your non-dominant hand to adjust the loop and tension while forming the slip knot. Over time, you’ll develop a feel for how tight or loose the knot should be.
Watch Your Tension: Tension is crucial in crochet. A slip knot that’s too tight will be hard to work with, while a loose one may fall off the hook. Practice maintaining a medium tension for best results.
Try Double-Loop Slip Knots for Added Security: A double-loop slip knot involves making an additional twist in the loop, which can add durability for projects that need extra security, like tote bags.
Anchor the Yarn on a Flat Surface: If you’re new to slip knots, try placing the yarn on a flat surface. This stabilizes it and can make it easier to see what each hand is doing while forming the knot.
- Patterns
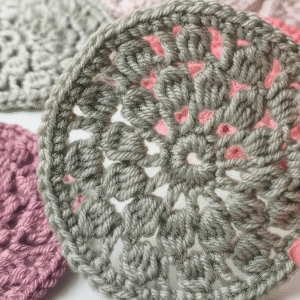
Blossom Medallion Coaster Crochet Pattern
$5.00Original price was: $5.00.$3.00Current price is: $3.00. Add to basket - Patterns
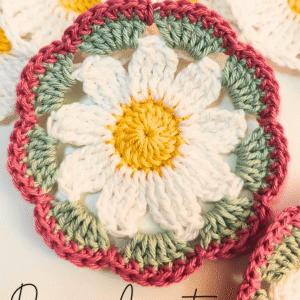
Daisy Coaster Crochet Pattern
$5.00Original price was: $5.00.$3.00Current price is: $3.00. Add to basket - Patterns
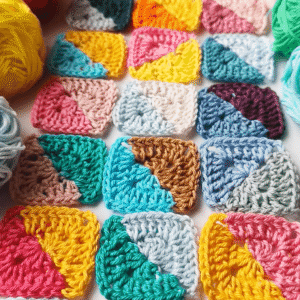
Half and Half Granny Square Crochet Pattern
$5.00Original price was: $5.00.$0.00Current price is: $0.00. Add to basket - Patterns
Two-Color Mini Granny Square Crochet Pattern
$5.00Original price was: $5.00.$0.00Current price is: $0.00. Add to basket
Common Problems and Solutions with Crochet Slip Knots
Slip knots might seem simple, but a few common problems can arise. Here’s a troubleshooting guide to help:
| Problem | Solution |
|---|---|
| Knot is too tight | Loosen the knot by gently pulling on the yarn ends. |
| Knot slips off the hook | Adjust your grip or try a larger hook size. |
| Knot is too loose | Ensure your yarn is taut and that you’re securing the knot with a stable grip. |
| Knot unravels during crocheting | Tighten the knot slightly or consider a double-loop technique for added security. |
By keeping these tips in mind, you can avoid the frustration that sometimes comes with making slip knots.
- Patterns
Blossom Medallion Coaster Crochet Pattern
$5.00Original price was: $5.00.$3.00Current price is: $3.00. Add to basket - Patterns
Daisy Coaster Crochet Pattern
$5.00Original price was: $5.00.$3.00Current price is: $3.00. Add to basket - Patterns
Half and Half Granny Square Crochet Pattern
$5.00Original price was: $5.00.$0.00Current price is: $0.00. Add to basket - Patterns
Two-Color Mini Granny Square Crochet Pattern
$5.00Original price was: $5.00.$0.00Current price is: $0.00. Add to basket
The Importance of Slip Knots in Crochet Projects
The slip knot’s primary function is to anchor your yarn to the hook, creating a starting point for chains. Here’s why it’s crucial:
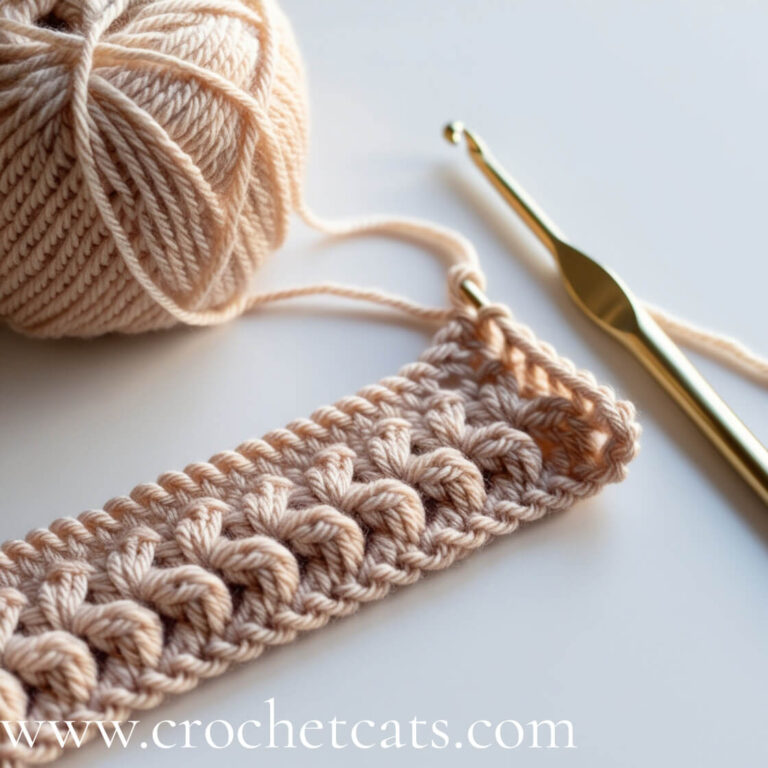
Foundation for Chains: Most crochet patterns begin with a chain stitch, which is anchored by a slip knot.
Provides Stability and Consistency: A well-made slip knot provides stability and consistency, which translates into neater stitches and an even fabric.
Flexible for Different Patterns: A slip knot can adapt to different crochet techniques and is essential for projects that require flexibility, such as granny squares and amigurumi.
Variations of Slip Knot Techniques for Different Projects
Adjustable Slip Knot
An adjustable slip knot, unlike a standard slip knot, allows you to tighten or loosen the loop even after creating the initial chains. This technique is especially helpful in amigurumi or when working with very fine yarn.
Make a Loop and Hold It Loosely: Start by making a slightly larger loop than usual.
Insert the Hook: Insert your hook into the loop and gently tighten.
Adjust as Needed: Once a few stitches are created, you can adjust the loop’s tightness by pulling on the yarn end.
Double Slip Knot
The double slip knot adds an extra loop to the initial knot, making it more secure. This variation is beneficial for crochet projects that need additional durability, such as handbags or items that will undergo wear and tear.
Create a First Loop: Form a basic loop and insert the hook.
Form a Second Loop Over the First: Twist the yarn a second time to make another loop.
Tighten the Knot: Pull on both ends until the knot is secure.
Magic Ring Slip Knot
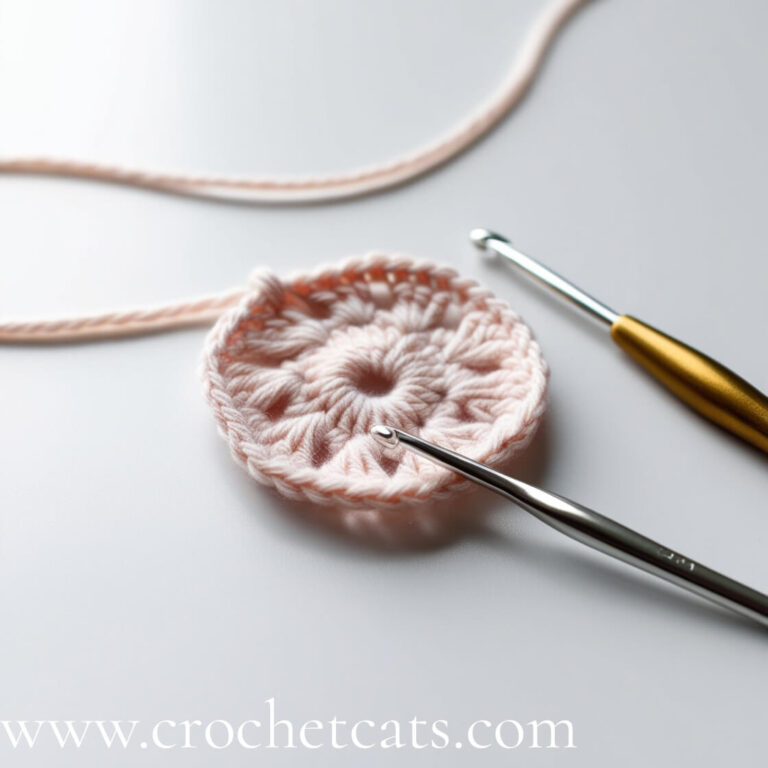
The magic ring slip knot is ideal for projects done in the round, such as hats or circular motifs. It provides a more secure, adjustable starting point that can be tightened once the initial round is complete.
Form a Large Loop: Wrap the yarn around two fingers and cross it over to make a loose loop.
Pull the Yarn Through: Pull the working yarn through the loop with your hook.
Tighten After the First Round: After completing the first round, pull on the tail end to tighten the loop, closing the center.
Popular Crochet Projects Using Slip Knots
Slip knots aren’t just a foundation stitch—they’re essential in many creative and varied crochet projects. Here’s a look at some popular crochet pieces where the slip knot plays a crucial role:
Amigurumi (Crocheted Figures)
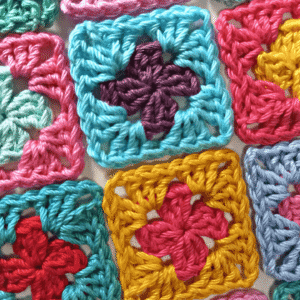
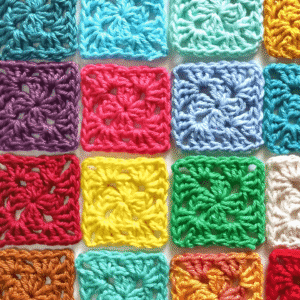
Amigurumi projects start with a tight slip knot to create a small, secure foundation. Beginners and experienced crocheters alike enjoy making these figures, as they can range from simple to highly detailed.Granny Squares
Each granny square begins with a slip knot, anchoring the first chain and creating uniformity across multiple squares.Scarves and Blankets
Scarves and blankets require long chains as their foundation. A secure slip knot ensures that these long projects stay even and don’t unravel with use.Hats and Circular Motifs
Many hats start with a slip knot and chains, working in the round to create a uniform shape. Using an adjustable slip knot is often recommended for starting rounds in circular projects.Tote Bags and Baskets
Heavier projects like bags and baskets benefit from a double slip knot for extra stability. These items require a knot that won’t loosen easily, adding durability to the finished product.
FAQ – Crochet Slip Knot
Q1: Why is my slip knot coming undone?
A: If your slip knot comes undone, it may be too loose. Make sure to secure the knot by pulling on both ends of the yarn before starting your chain. You can also try a double slip knot if extra security is needed.
Q2: Can I use a slip knot with any type of yarn?
A: Yes, slip knots work with any yarn type. However, some yarns, like silk or linen, can be slippery, so ensure the knot is tight enough to hold while crocheting.
Q3: What’s the best hook size for making slip knots?
A: The best hook size depends on your yarn weight. Generally, match the hook size to the yarn label’s recommendation, which will help you create an even slip knot and chain.
Q4: How can I make sure my slip knot isn’t too tight?
A: Loosen your grip slightly on the yarn while forming the knot. Practice with different tension levels, aiming for a slip knot that sits comfortably on the hook without too much tightness.
Q5: Is the slip knot necessary for all crochet projects?
A: Most crochet projects start with a slip knot, but some advanced methods, such as foundation chains, may bypass it. That said, it’s generally recommended for beginners to start with a slip knot for consistency.
Q6: How can I practice making a good slip knot?
A: Use a medium-weight yarn and try forming the knot slowly. Practice adjusting the loop size and tension until it feels comfortable and secure.
Q7: Can I adjust the slip knot after starting my chain?
A: Minor adjustments can be made, but for significant tension changes, an adjustable slip knot may be better suited.
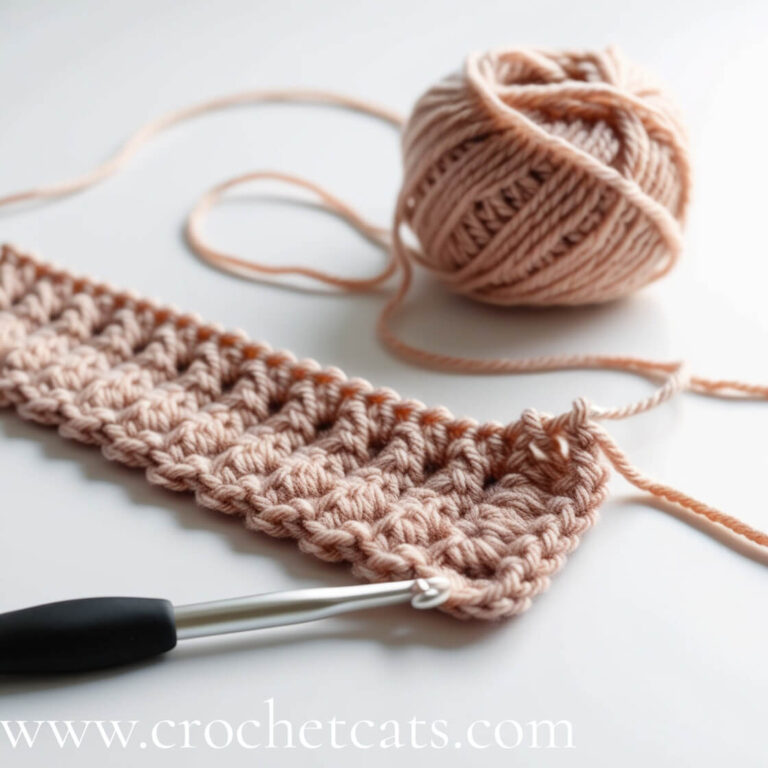
By following this guide, you’ll be on your way to mastering slip knots in crochet. With practice and attention to detail, this foundational technique will soon become second nature, enabling you to tackle more complex projects with confidence!
Crochet Patterns
- Patterns
Blossom Medallion Coaster Crochet Pattern
$5.00Original price was: $5.00.$3.00Current price is: $3.00. Add to basket - Patterns
Daisy Coaster Crochet Pattern
$5.00Original price was: $5.00.$3.00Current price is: $3.00. Add to basket - Patterns
Half and Half Granny Square Crochet Pattern
$5.00Original price was: $5.00.$0.00Current price is: $0.00. Add to basket - Patterns
Two-Color Mini Granny Square Crochet Pattern
$5.00Original price was: $5.00.$0.00Current price is: $0.00. Add to basket
Accessories
- Patterns
Blossom Medallion Coaster Crochet Pattern
$5.00Original price was: $5.00.$3.00Current price is: $3.00. Add to basket - Patterns
Daisy Coaster Crochet Pattern
$5.00Original price was: $5.00.$3.00Current price is: $3.00. Add to basket - Patterns
Half and Half Granny Square Crochet Pattern
$5.00Original price was: $5.00.$0.00Current price is: $0.00. Add to basket - Patterns
Two-Color Mini Granny Square Crochet Pattern
$5.00Original price was: $5.00.$0.00Current price is: $0.00. Add to basket - Patterns
Solid Mini Granny Square Crochet Pattern
$5.00Original price was: $5.00.$0.00Current price is: $0.00. Add to basket


